
I was recently commissioned to make a map of Middle Earth. The maps I have listed from my shop are smaller 10" x 7.5". The customer wanted a version that was more around 20 x 14. I believe this one turned out to be around 21 x 15. The map is mounted to a 3/4" stained sheet of plywood with rounded edges. Instead of adhering the map permanently to the board, the customer wanted the map to be pinned. So I made some wooden pins look rustic and attached the map with those.
Hit the jump for more pics.

The paper I used for the map is a cold pressed paper. It came from an artist's shop in downtown Elgin. He was very helpful getting me what I needed and showed me many types of paper before I chose this one. Now, I don't have access to a large printer that could handle this size paper. I had to improvise. I used a high res version of the map and edited it using Paint.net. I took out all the color and darkened everything else. The map was then printed backwards onto several transparencies that I could then transfer using my clothes iron.


The first time I tried to transfer the images, I taped the transparencies to the paper and ran the iron over it. This caused the transparency to make "waves" and the image never made it to the paper in the right places. The ink went onto the paper sure, but the image was very, very blurry. Turns out the trick to this is only using the tip of the iron and going over all the details individually. This meant tracing over every path, letter and mountain there was. This took around 4 - 5 hours to transfer the image completely. The image was clear in the end, but not perfect. I thought it made it look more old and used, so I was ok with it.


After cutting the map to size, I sanded the entire thing to bring out the fibers in the paper. This helps give it texture that feels more like cloth. I used very fine sawdust while sanding because some of the fine dust settles in the paper and gives it a mild marble like discoloration. Afterward the map was dyed using coffee. Yep, coffee. As it turns out, coffee and tea are very reliable dyes for antiquing paper.

After dying, the map was quite damp. The halogen lamp fixed that in under an hour. You need to be careful doing this though. That light could have easily started a fire with that map. And I assure you, a woodshop is the last place you want that to happen.

The board was cut from a 3/4" piece of oak plywood. Luckily, I had just enough left over from the arcade project that I didn't need to buy more. That cabinet grade plywood cost around $50 sheet.

I didn't want and sharp edges to he board, so I used the router to round over the edges of the plywood. Routers are scary. They are the loudest tool we have, they spin the fastest, and hold the record in shop for most blood shed. That being said, I wasn't using safety glasses the other night... I'm an idiot.


I really like these saw tooth hangers. You almost never miss the nail you're hanging on. These particular ones had little brads on them. So all that needed to be done was gently tap them into place with a hammer. I spaced the two hangers 8 inches from center. I did this because most studs in the wall are 16 inches apart. I am realizing now, however, I should have put a third directly in the center in case the customer wanted to mount the board with only one nail.
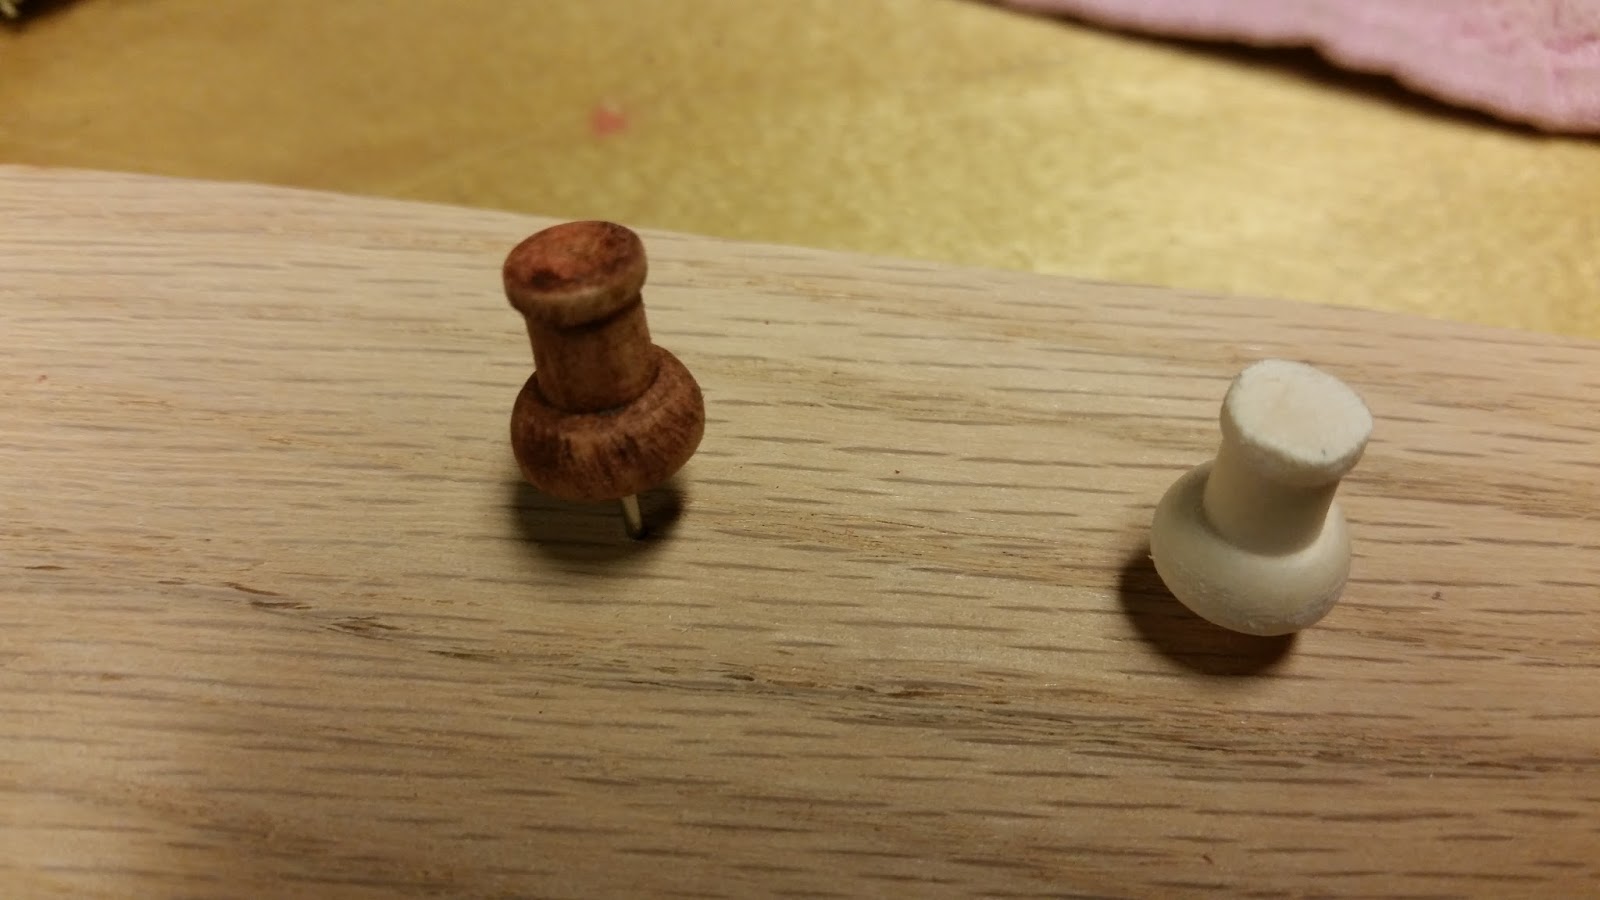


Because the map needed to be pinned, I found some wooden pins and made them look a little more rustic. I did this by sanding unevenly with rough sand paper. Then I dipped the pins into a walnut stain and dried them off in a paper towel. I only used 4 pins to mount the map and sent the rest in the package in case any get lost or broken.

The edges of the map were darkened using my soldering iron and slowly running over the perimeter of the map. In a few spots I purposefully burned a tear into the map. There are also two small burn holes in the body of the map as well. I imagine Bilbo would have been looking over this map in candle light and burned it every once in a while.
I loved making this map. I enjoyed the challenge of trying to figure out how to get the map image onto the paper. I am glad to have made the acquaintance of the artist down the road. And very glad about a couple new skills learned in the process.
Thank you Christy for the chance to bring this prop to life. I hope you enjoy it.
Aww this work is quite new to me, and i am very amazed after looking at the map pictures. it really requires some unique materials and skills. If you have both, you can succeed.
ReplyDelete