
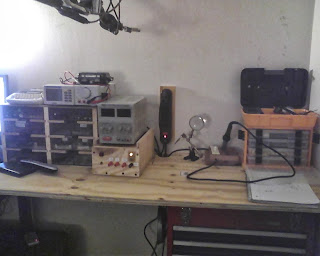
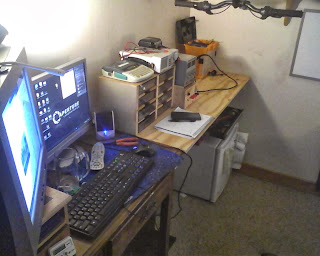
Recently I had to give up my larger mini fridge. So with the new space left in my room I extended my computer desk with some plywood to add a proper Electronics Bench to my room. I also mounted a power strip on the wall, built a Soldering Station, a small Component Drawer Set, and a Bench Power Supply.

Here's the Soldering Station. I apologize for the poor quality photo. I lent out my camera. If you can see it, the pipe i used was a heavy duty piece of conduit. I cut it with a saws-all and used the already threaded side to fit into the hole i cut with a spade bit. The switch is a normal wall switch however I had to slim it down to fit it to the base. Before adding the switch to my iron I had to plug/unplug the iron every time I needed to use it. Now I can just leave it plugged in on my bench and flip a switch as needed.


My new Component Box allows me much easier access to some basic parts like resistors, caps, transistors and what not. These plexiglass drawers were originally from Starbucks. They were displays that were getting thrown out. I have been using these for this purpose for a while but before this I had them stacked in a drawer of my toolbox and had to sometimes pull 3 trays out to get to the one I needed. Also I only air nailed the bottom and top, so if need be, I can add more drawers/compartments later.

The three red banana terminals output a +12V, +5V, and +3.3V respectfully. And then a black common ground terminal. The yellow light indicates that the PS is plugged in and receiving power.
However the terminals wont output power until the button on the top left is switched on. In which case the second LED (Blue) turns on. I'm not sure if I will keep the LED blue or not. I love blue LED's but it is very bright and it may get annoying.
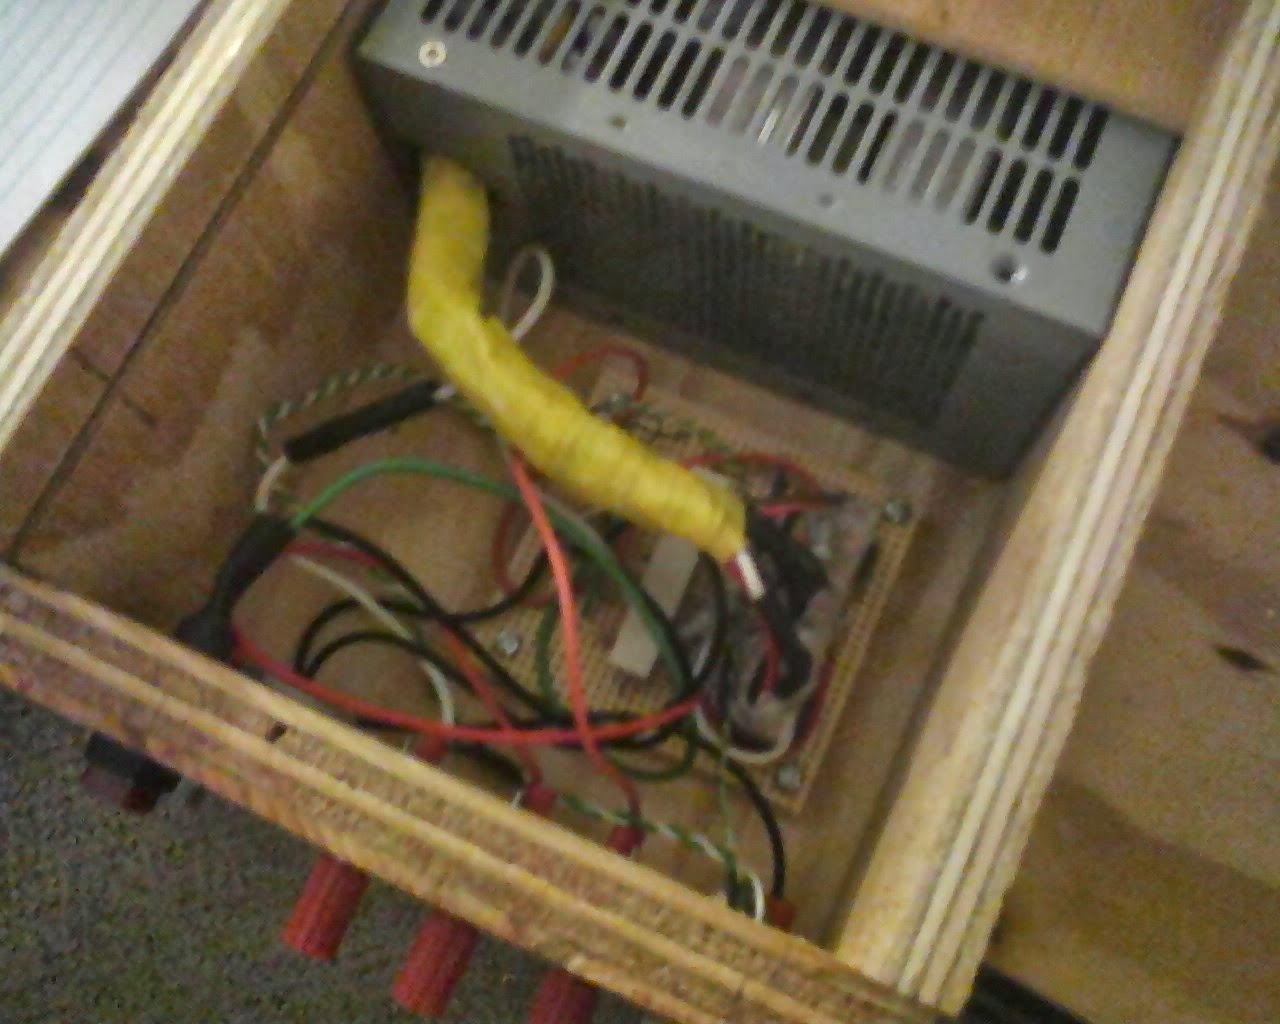


Very cool bro I really like the whole work station, but my favorite thing is definitely that power supply you built. Great idea designing it so the PC PSU can be swapped out.
ReplyDeletethanks, unfortunately to my recent discovery, not all of them are the same. so i will have to make sure i get one with the same motherboard plug. otherwise I can modify the PCB further by adding additional terminals for other supply's.
DeleteThis is awesome! You're giving me a chub over here with that workstation
ReplyDelete